Hyperfocal Distance: The Complete Guide to Front-to-Back Sharpness
Hyperfocal distance is the focusing trick that keeps landscapes sharp from the foreground to infinity. Here is what it means, how to calculate it, and how to use it on location.
If you’ve ever shot a landscape where the mountains were crisp but the foreground rocks were mush — or the other way around — hyperfocal distance is the fix. Focus here and you squeeze the maximum possible sharpness out of a single frame, from a close foreground all the way to the horizon.
What is hyperfocal distance?
Hyperfocal distance is the closest focus distance at which everything from half that distance out to infinity is acceptably sharp.
Focus your lens at the hyperfocal distance and your depth of field stretches from H/2 to ∞. It’s the single most efficient place to put your focus when you want front-to-back sharpness.
Two practical takeaways fall out of the definition:
- Focusing past the hyperfocal distance (or at infinity) wastes depth of field — you throw away near sharpness you didn’t need to.
- Focusing at the hyperfocal distance gives you the deepest possible scene for a given aperture.
How to calculate hyperfocal distance
The formula is:
H = (focal length² / (f-number × circle of confusion)) + focal length
Three inputs drive it:
- Focal length — longer lenses push the hyperfocal distance farther away.
- Aperture — stopping down brings it closer (more depth).
- Circle of confusion — set by your sensor size and how sharp you need the final image to be.
A quick example
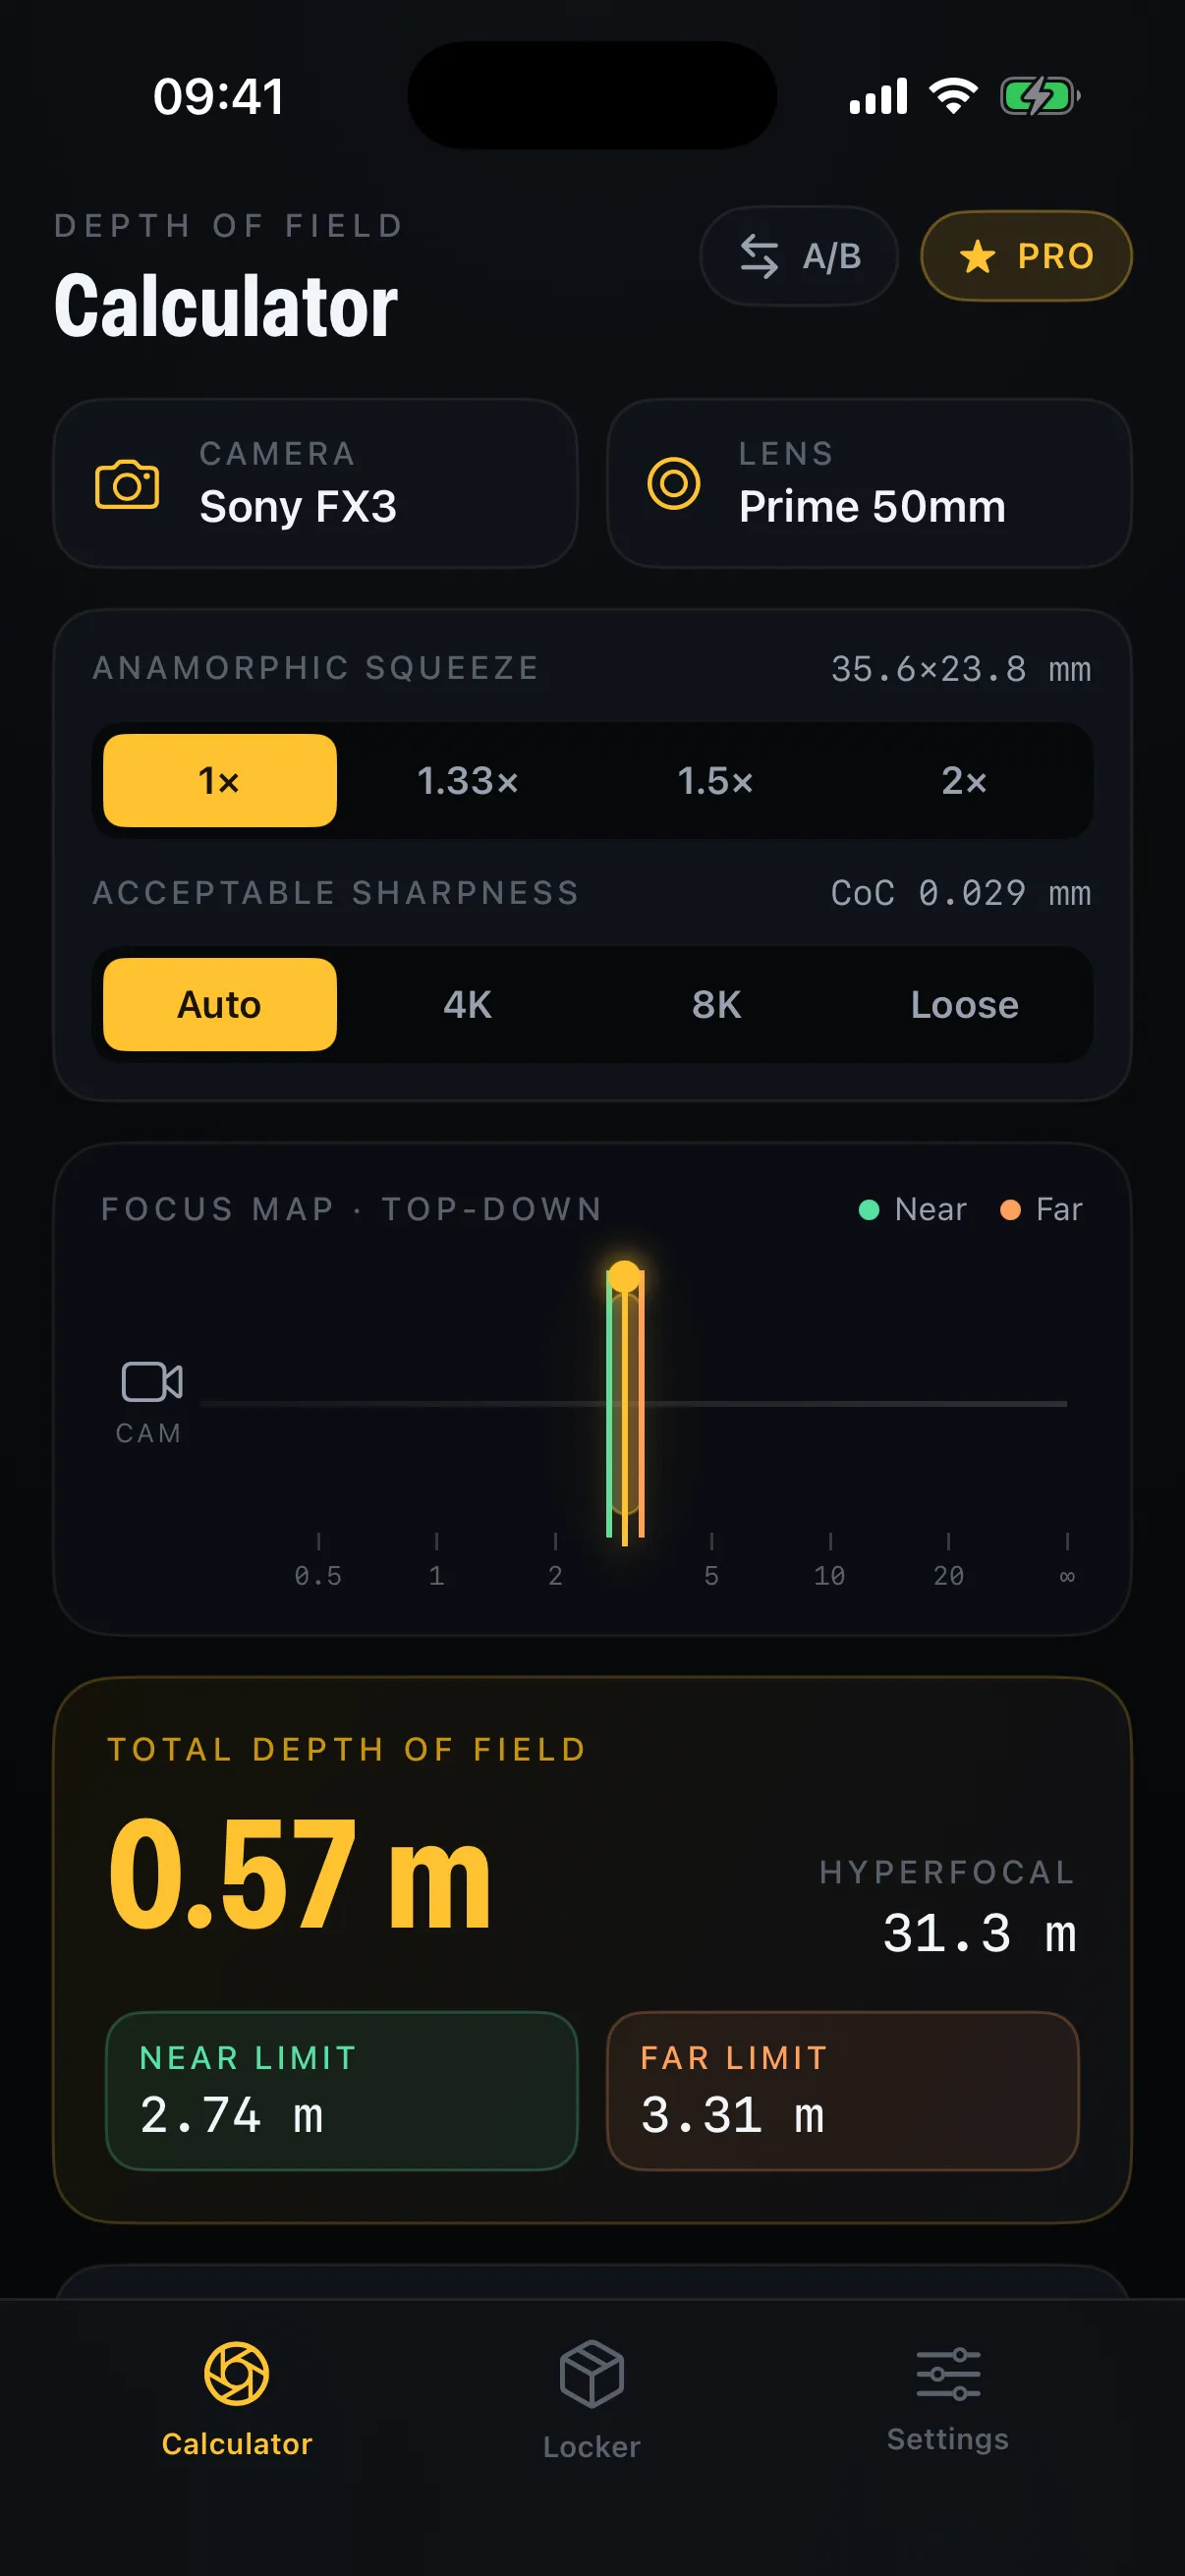
A 24mm lens at f/8 on a full-frame body has a hyperfocal distance of roughly 2.4 m. Focus there and everything from about 1.2 m to infinity is sharp. Switch to a 50mm at f/2.8 and the hyperfocal distance jumps to 31.3 m — far less practical for a deep landscape, which is exactly why wide lenses and smaller apertures are the landscape photographer’s tools.
Using it on location
You rarely have a tape measure on a clifftop. Three ways to nail the focus:
- Pick a target at roughly the hyperfocal distance and focus on it. The number doesn’t have to be perfect — being slightly beyond hyperfocal is safer than being short.
- Use LiDAR. On iPhone Pro you can range a foreground feature directly and compare it to your hyperfocal number.
- Lean on the near limit. If your hyperfocal is 2.4 m, your near limit is ~1.2 m. Make sure nothing important sits closer than that.
Rule of thumb: when in doubt, focus a touch past hyperfocal. You’ll keep infinity sharp and only give up a little foreground — far less risky than a soft horizon.
Hyperfocal vs. focus stacking
Hyperfocal focusing gets you maximum depth in one frame. When even that isn’t enough — extreme close foregrounds, or you’re shooting wide open for optical quality — focus stacking (blending several frames focused at different distances) takes over. Hyperfocal is faster and works for moving scenes; stacking is sharper but static only.
Watch for diffraction
It’s tempting to just stop down to f/22 for “more depth.” But past a point, diffraction softens the entire image — so you trade depth of field for overall sharpness. Most full-frame lenses start losing bite somewhere around f/11–f/16 depending on your delivery resolution. A good calculator will warn you when you’ve stopped down past the sweet spot.
Make it automatic
Working hyperfocal distance out in your head for every lens-and-aperture combination is a chore. DoF Mate shows your hyperfocal distance live as you turn the gauges, flags diffraction before it bites, and draws the sharp zone on a top-down map — so you can focus with confidence instead of arithmetic. Pair it with our depth of field primer for the full picture.